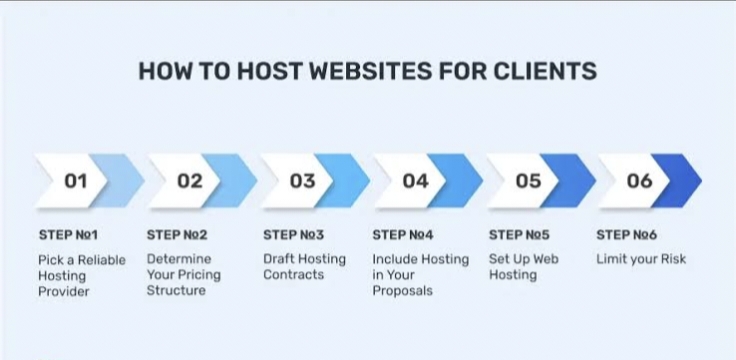
Processing of Adding a Website in Hosting
Adding a website to a hosting service involves several key steps, including domain registration, selecting a hosting provider, uploading website files, configuring settings, and ensuring security and performance. Below is a detailed explanation of the process:
1. Choosing a Domain Name and Registering It
Before hosting a website, you need a domain name (e.g., www.example.com). This can be purchased from domain registrars like GoDaddy,
purchased from domain registrars like GoDaddy, Namecheap, or Google Domains. Some hosting providers also offer domain registration services.
Steps:
- Choose a unique and relevant domain name.
- Check its availability using a domain registrar.
- Register the domain by providing necessary details and making a payment.
Once registered, the domain needs to be linked to the hosting provider using Domain Name System (DNS) settings.
2. Selecting a Hosting Provider
A hosting provider is necessary to store website files and make them accessible online. Hosting services include:
- Shared Hosting – Suitable for small websites, as resources are shared among multiple users.
- VPS (Virtual Private Server) Hosting – Offers more control and resources compared to shared hosting.
- Dedicated Hosting – Provides a server exclusively for your website, ideal for large-scale businesses.
- Cloud Hosting – Uses multiple servers to ensure better performance and uptime.
After selecting a hosting provider, you need to purchase a plan based on your website’s needs.
3. Configuring Domain Name System (DNS)
After purchasing hosting, the domain name must be pointed to the hosting server. This is done by updating the nameservers provided by the hosting company in the domain registrar’s settings.
For example, if you are using Bluehost, the nameservers may look like:
- ns1.wpprox1.com
- ns2.wpprox2.com
Updating DNS settings ensures that when someone enters your domain name in a browser, it directs them to your hosted website.
Uploading Website Files
Website files need to be uploaded to the hosting server. There are multiple ways to do this:
- Using File Manager – Most hosting providers offer a web-based file manager to upload files directly.
- Using FTP (File Transfer Protocol) – Tools like FileZilla allow users to transfer files securely.
- Using cPanel or Control Panel – Provides an easy interface to manage files and settings.
The main files should be placed in the public_html folder (for cPanel users) to be accessible via the internet.
5. Setting Up Databases (If Required)
For dynamic websites that use CMS (Content Management Systems) like WordPress, Joomla, or Drupal, databases are necessary.
- Create a new database in the hosting control panel.
- Configure database users and permissions.
- Connect the database to the website through configuration files (e.g.,
wp-config.phpfor WordPress).
6. Installing CMS or Website Builder
If you are not manually coding your website, you can install a CMS like:
- WordPress – Most popular for blogs and business sites.
- Joomla – Good for eCommerce and social networking sites.
- Magento – Best for online stores.
Most hosting providers offer one-click installation for CMS platforms.
7. Configuring Website Settings and SSL Certificate
To ensure security and better performance:
- Enable SSL (Secure Socket Layer): Encrypts data to protect user information. Many hosts provide free SSL via Let’s Encrypt.
- Set Up Email Accounts: Many hosting services allow creating email addresses like
info@example.com. - Configure Backups: Regular backups help prevent data loss.
- Optimize Performance: Use caching, Content Delivery Networks (CDNs), and minification techniques to improve speed.
8. Testing and Going Live
Before making the website public, testing is essential:
- Check website loading speed using tools like Google PageSpeed Insights.
- Test mobile-friendliness and responsiveness.
- Fix broken links and ensure all pages function properly.
Once everything is confirmed, the website is officially live and accessible to users.
 logo
logo
